

Why Trade Show Banners and Posters Matter
When buyers walk a crowded trade show floor, your trade show banners and posters decide whether they stop or keep walking. Professional banners and displays communicate credibility, attract the right audience, and turn booth traffic into real conversations.

Professional banners and posters are booth traffic generators
Trade show floors are crowded, noisy environments where you have seconds to capture attention. Professional banners and posters act as visual anchors that stop foot traffic mid-stride and communicate your core value proposition before a single conversation happens. A crisp, well-designed banner tells attendees exactly what you do, who you serve, and why they should stop—all from fifteen feet away.
Quality display materials do more than attract eyes. They differentiate your booth from the sea of competitors and create the immediate impression of a well-established, credible company. Attendees make snap judgments about professionalism based on what they see first, and high-quality printed materials signal that your business is worth their time and business card.
Research shows that strong visual branding
Event research confirms that booths with strong visual branding see 30–50% more foot traffic than those with generic or unclear displays.
Clear messaging on banners and posters helps qualified prospects self-select, so the attendees who approach your booth already understand what you offer and why it matters to them.
High-ROI Trade Show Printing Services for Fall Events
Not all trade show materials deliver the same return, and smart exhibitors allocate their print budget based on how and when attendees will see each piece. Three categories stand out for their cost-to-impact ratio:
- Large-format banners that frame the booth perimeter
- Posters that drive close engagement
- Dimensional displays that add visual depth without cluttering the space
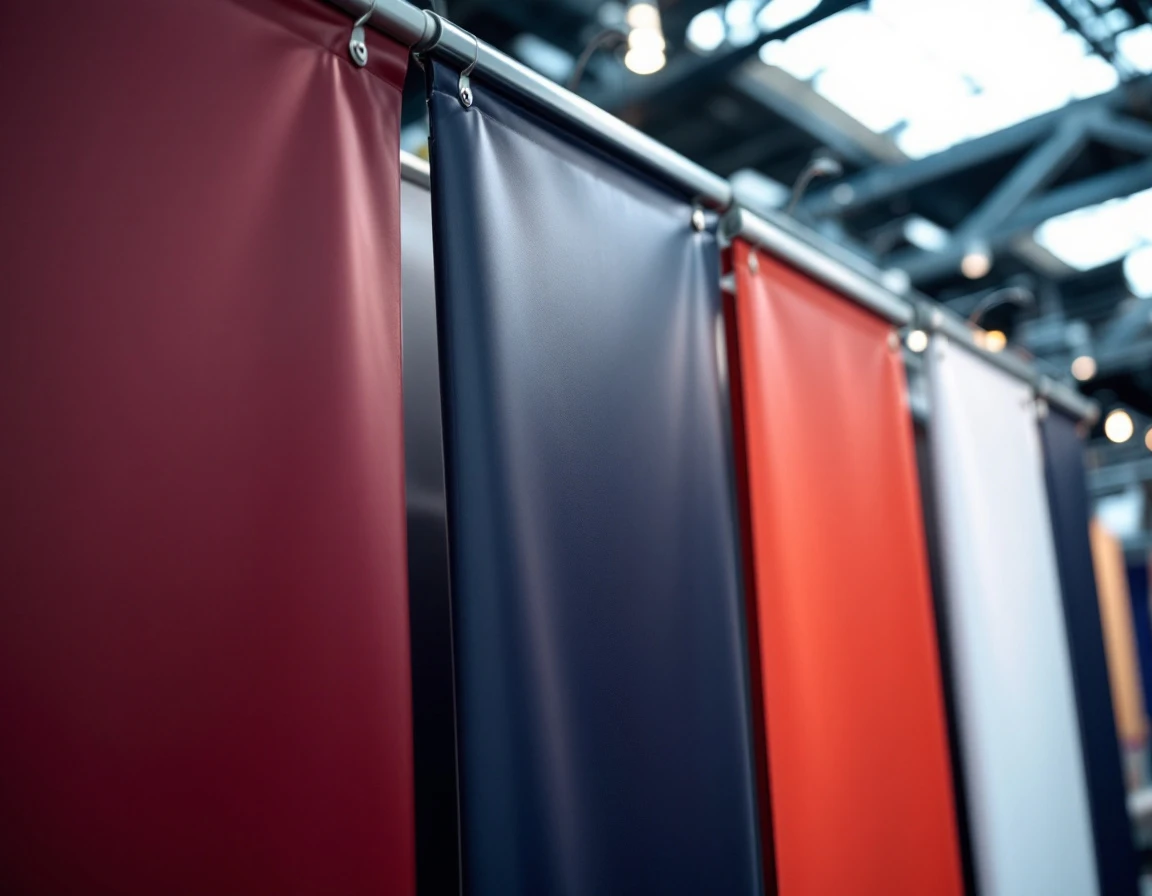
Banners in the 10×20 ft. range and larger establish booth identity from across the show floor. These materials require the longest lead times—typically two to three weeks for design approval, printing, and finishing—but they're visible to attendees dozens of yards away. A banner with a single clear headline, high-contrast photography, and minimal text outperforms busy, text-heavy signage every time. Think "Automate Your Fulfillment in 30 Days" paired with a clean product shot, not a paragraph explaining feature sets. Banners set the frame for everything else in the booth.
Tabletop and wall posters handle the close-range work once an attendee steps inside the booth perimeter. These custom trade show displays communicate product benefits, technical specifications, or clear calls to action. Standard sizes like 24×36 inches keep costs down and turnaround fast—often 48 to 72 hours—making them easy to update between events or swap out for different audience segments. Posters answer the question "What's in it for me?" when someone is already interested enough to stop and look.
Dimensional displays—standees, foam boards, fabric backdrops—add visual interest and reduce the flat, cluttered feel that comes from too many posters. A life-size product standee or a contoured fabric backdrop creates depth and draws the eye without requiring additional floor space. These materials sit in the mid-tier for cost and turnaround, but their impact on booth presence is immediate. They make the difference between a booth that looks assembled in a hurry and one that reflects planning and professionalism.

Design and Messaging Strategy
Most trade show attendees make a snap judgment about your booth in five seconds or less. They're scanning dozens of displays, deciding which ones deserve a closer look. Your signage has one job in those first seconds: answer the question "What does this company do and why should I stop?" If your visitor can't figure that out immediately, they keep walking.
Effective trade show design follows a clear hierarchy: start with a dominant headline that communicates your value proposition in six words or fewer, pair it with a supporting visual that reinforces the message, and keep your call-to-action subtle.
Color psychology matters, but contrast and readability matter more. A navy headline on a black background might match your brand palette, but it disappears from ten feet away. High contrast between text and background keeps your message visible across crowded aisles. Avoid jargon-heavy copy. "Reduce fulfillment errors" beats "Optimize warehouse operational efficiency" every time.
Compare two real approaches: A software company used a banner reading "Project Management Platform" with three paragraphs of feature bullets. Booth traffic was light. They revised to "See Every Deadline. Miss Nothing." with a single visual of their dashboard. Engagement doubled. Another exhibitor cluttered their backdrop with logos, testimonials, and four different fonts. Visitors reported confusion about what the company actually sold.
For most exhibitors, professional templates from print vendors offer the best balance of cost and quality. Hire a designer if your brand is complex or you're launching a new product line. Either way, arrive at your print vendor with a solid design or clear direction. Vague briefs lead to revision cycles that eat your timeline and budget, turning what should be a simple print job into a rush order that costs more and stresses everyone.
Printing Timeline and Vendor Brief
Planning your print order timeline protects both your budget and your booth's professionalism. Large-format materials like banners and oversized posters typically require two to four weeks of lead time, and most print shops apply rush fees for turnarounds under two weeks. Smaller items such as tabletop posters and flyers can often be completed in one to two weeks, but bundling all materials into a single order saves coordination time and often unlocks volume discounts.
August and early September represent peak demand for trade show materials, as exhibitors prepare for fall's heavy event calendar. During this window, rush fees become punitive—sometimes doubling your print costs—because vendors are managing capacity constraints across dozens of clients. Booking your vendor in July or earlier avoids this premium pricing and gets your project dedicated attention rather than competing for press time.
A professional vendor brief eliminates revision cycles and cost overruns by specifying exactly what you need upfront. Your brief should include dimensions (height and width in inches or feet), substrate choice (vinyl banner vs. fabric vs. paper stock), quantity, finish type (gloss, matte, or laminated), accepted file formats (PDF with bleed is standard), and final delivery date with the venue address if shipping directly to the event. Clear specifications prevent the "we thought you meant" conversations that delay production.
When contacting print vendors, include all these details in your initial email: "I need three vinyl banners, 4' x 8' each, matte finish, full-color CMYK, delivered to [venue name and address] by September 10. Files will be provided as print-ready PDFs with 0.25" bleed. Please confirm lead time and quote." This approach gets accurate quotes faster and signals that you understand the production process, which vendors appreciate.
4-Week Pre-Event Checklist
Following a four-week timeline removes the panic and cost of last-minute printing, and helps you sidestep the rush fees that can inflate your final invoice. Here's a week-by-week breakdown that turns planning into execution.
Week 1 (eight weeks before the event): Confirm your booth size, location, and any venue restrictions on signage height or mounting. Define your key messaging and decide which materials you need—backdrop banners, tabletop displays, posters, or dimensional elements. This is your foundation; everything else builds from here.
Weeks 2–3 (six to five weeks before): Finalize designs and request quotes from at least two vendors to compare pricing and turnaround times. Place your printing orders by the end of week three to avoid rush fees that spike as September events approach. Vendors who quote longer lead times during peak season are being realistic, not slow—trust those timelines.
Week 4 (four weeks before): Confirm delivery dates and inspect every piece when it arrives. Check color accuracy, text legibility, and finishing quality. If something needs a reprint, you still have time to fix it without paying expedited shipping. Use this week to map out your booth layout and signage placement so setup day runs smoothly.
This timeline connects directly to the thesis: on-time, thoughtful signage preparation is what separates a booth that converts from one attendees walk past. Proactive planning protects your budget and your results.
Cost Control and Budget Allocation
Budget anxiety is real for exhibitors planning fall trade shows, but professional-quality signage doesn't require unlimited spending. Strategic allocation of a finite print budget delivers better results than scattering funds randomly across materials. The key is matching investment to visibility and reuse potential.
A typical $2,000 print budget performs best when structured around ROI:
- Allocate $1,000 to banners (40–50% of total)
- $600 to posters
- $400 to dimensional displays
Banners deliver the highest return because they're visible from across the trade show floor and pull attendees toward your booth. Posters support close-range engagement once visitors arrive, while dimensional displays add visual depth without dominating the budget.
Material choice directly affects cost per event over time. Vinyl banners and fabric backdrops cost more upfront but survive multiple shows, reducing per-event expense. A $300 vinyl banner used at six events costs $50 per show. Paper posters run $40 each but work for one event only—acceptable for messaging that changes frequently, inefficient for evergreen branding.
Cost-saving tactics include ordering multiple items from one vendor to consolidate shipping, choosing standard sizes (24×36, 33×80) to avoid setup fees, and investing in reusable materials that travel well. Vinyl resists weather and handling. Paper tears easily and can't be stored for future use. Thoughtful budget allocation, not simply spending more, determines whether your booth generates qualified leads or blends into the background.