

Why Multi-Service Retail Store Layout Matters
Walk into most independent pack-and-ship stores and you'll see the same problem: a print customer standing in line behind three shipping customers, waiting for a simple business card reorder. Meanwhile, a walk-in asking about mailbox rentals hovers near the door, unsure whether to interrupt the counter staff or keep waiting. Your team spends half their shift walking back and forth between the printer, the scale, and the storage room because nothing is organized around how work actually flows. A deliberate multi-service retail store layout fixes these friction points by organizing your space around customer needs and staff workflow.
These aren't cosmetic issues. Poor layout costs you money every single day. When customers can't figure out where to go, they wait longer, ask more questions, and leave without adding that rush printing fee or extra packing supplies to their order. When your staff has to backtrack between stations, each transaction takes longer and you process fewer customers per hour. When the impulse products sit behind the counter instead of in the customer's line of sight, your average transaction value stays flat no matter how hard your team works.
Layout also affects whether your best employees stick around. Staff members who spend their shifts navigating a cluttered, confusing floor plan get frustrated. They know they're working harder than they need to because the space fights them at every turn. A deliberate, zone-based design clarifies workflow, reduces wasted motion, and positions your most profitable services and add-ons exactly where customers naturally look for them.
The Four-Zone Framework for Pack and Ship Store Design
The four-zone framework organizes your store floor around the natural progression of a customer transaction, reducing backtracking and creating clear spaces for staff to work without interrupting service. Each zone handles a distinct phase of the customer experience, from initial request through final payment.
The Intake Zone sits at your store entrance and is the assessment point where customers explain what they need and staff evaluate the scope. At this stage, a shipping customer describes their package destination and timeline, a print customer hands over a USB drive and specifies binding preferences, or a mailbox holder asks about holding mail during vacation. Staff collect the information needed to execute the service, provide a time estimate, and route the work to the fulfillment area. This zone requires minimal equipment — typically a counter, computer terminal, and basic forms — but demands strong customer-facing skills.
The Service Fulfillment Zone contains your operational equipment and workbenches, positioned away from customer view. Scales, thermal label printers, binding machines, wide-format printers, and packing supplies live here. Staff complete the actual work — weighing and labeling packages, printing documents, assembling bound presentations — without customers hovering or asking for status updates. This separation prevents the congestion that happens when customers crowd around the printer asking if their job is done yet.
The Pickup Zone creates a dedicated handoff counter where completed orders are retrieved, payment is processed, and customers exit. This zone needs access to finished work storage, your POS terminal, and a clear path to the door. Staff hand over the completed package or print job, collect payment, and conclude the transaction without blocking the intake counter.
The Impulse Add-On Zone positions complementary items between fulfillment and pickup, where customers naturally wait or pass through. Shipping labels, bubble mailers, packing tape, business card boxes, notary stamp pads, and gift wrap sit within arm's reach. Customers add these items to their order without detouring or asking staff to retrieve them from behind a counter, converting wait time into additional revenue.
Intake Zone Layout and Staffing
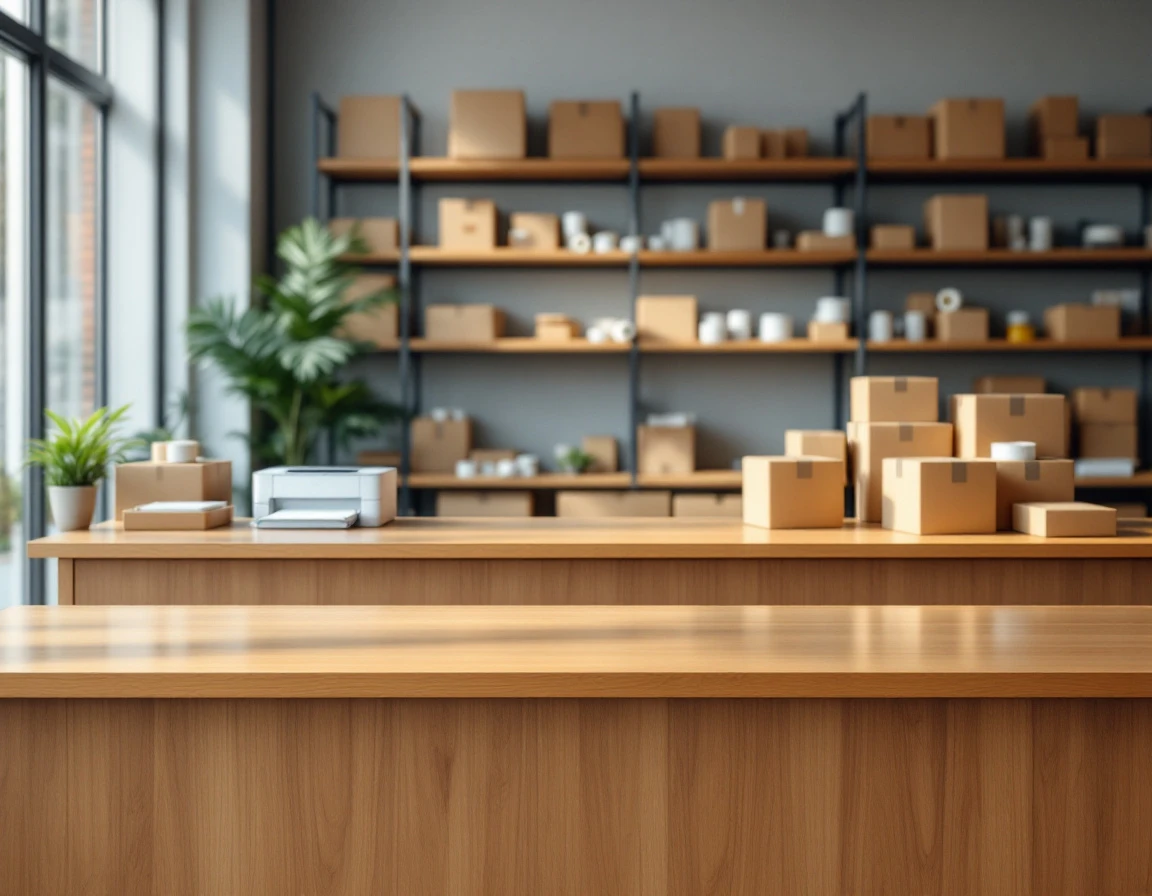
Position your intake counter directly inside the entrance or immediately visible from the front door, so customers see exactly where to begin their transaction. This single point of contact eliminates the confusion that occurs when customers face multiple counters and aren't sure whether to approach the shipping area, printing station, or mailbox desk first.
Design the intake as one L-shaped counter or a dedicated two-station setup where a trained staff member can assess every service type—shipping, printing, mailbox inquiries, notary requests—and route the customer appropriately. This person becomes your traffic director and upsell engine. Asking clarifying questions that surface add-on opportunities before the job moves to fulfillment. For example, after logging a shipping request, the intake staff might ask, "While we prepare that label, would you like to add signature confirmation or expedited service?"
Clear signage matters. Install a "Start Here" sign or service icons above the counter to guide customers without requiring staff intervention, especially during busy periods when your intake person is already helping someone.
Service Fulfillment Zone Setup
Once a customer hands off a shipping box or print job at intake, staff need space to work without an audience standing at the counter. The fulfillment zone belongs behind a divider, in a back room, or in a clearly separated section of the store—anywhere customers can't watch every step. This separation eliminates the pressure staff feel when someone hovers, waiting for their package to be weighed and labeled. It also keeps the counter clear for the next transaction.
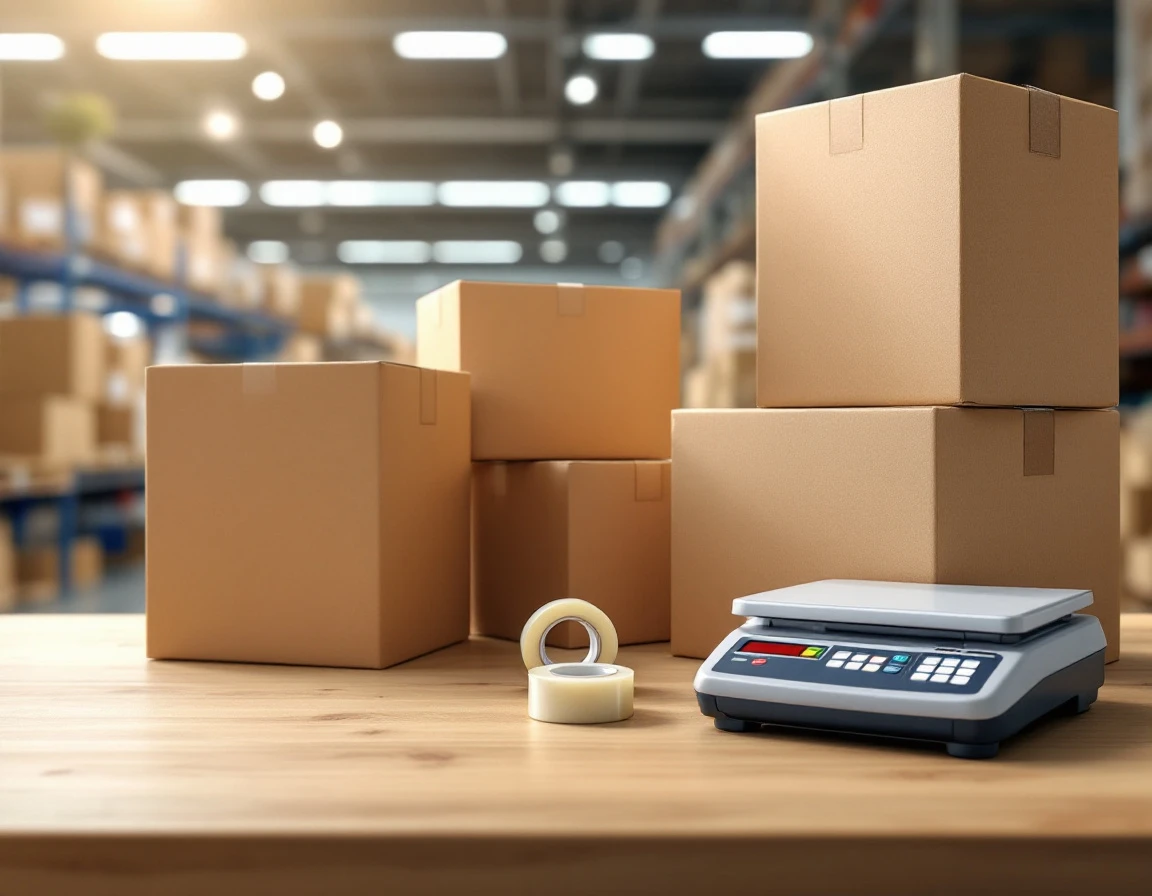
Group equipment by service type to cut down on staff movement. Place all shipping scales, tape dispensers, and packing materials in one area. Position printers, binding machines, and finishing equipment in another. Mailbox materials stay in a third section. When staff don't need to walk across the store mid-job, average task time drops and throughput improves.
Install shelving or labeled bins for in-progress jobs so items don't pile up on worktables. Use physical tags or POS system alerts to track each job from intake to completion. This prevents finished orders from sitting unnoticed and means staff can locate any item within seconds when a customer arrives for pickup. Understanding how organized fulfillment processes work can help you design more efficient workflows.

Pickup Zone and Add-On Placement
A dedicated pickup counter physically separate from intake keeps fulfillment staff from being interrupted while they're handing off completed orders. When customers collect their finished print jobs or packed boxes at a separate station, intake staff can stay focused on new conversations without breaking rhythm to answer questions about an order already in progress. This separation also signals to the customer that their primary transaction is complete, creating a natural moment to consider additional services.
The space between the pickup counter and the exit is the highest-value real estate in your store. Customers waiting for their receipt or change naturally scan the counter and surrounding area, making this the ideal location for impulse add-ons. Position small-ticket items like tape, bubble mailers, business card templates, notary pads, gift wrap, and pre-printed shipping labels on a display shelf or carousel at eye level. Clear signage — "Complete Your Order" or "Don't Forget…" — draws attention without cluttering the counter itself.
Strategic placement converts customers who discover items they wouldn't have requested without the visual prompt. A shipping customer sees notary pads on the counter and realizes they need a document notarized, adding to their transaction value. Another customer grabs a roll of packing tape after seeing it displayed next to the pickup register. The key is making the add-on visible and accessible without requiring the customer to ask or search.
Bundled pricing increases capture rates even further. Offering "Free 10 labels with this mailbox rental" or "Add discounted bubble mailers with any pack-and-ship order" gives customers a reason to say yes on the spot.
The pickup zone should feel efficient, clean, and inviting — not cluttered or pushy. A well-organized display shelf that rotates seasonal items (gift wrap in December, return labels in January) keeps the space fresh and relevant throughout the year.
Implementation: Your First 30 Days
Reorganizing your store doesn't require a consultant or closed doors for a week. The key is breaking implementation into manageable phases that let you test changes before committing fully. Start by involving your team from day one — frontline staff know where the real bottlenecks are, and their buy-in determines whether the new layout actually works.
- Week 1: Audit your current flow. Walk through your store as if you're a customer dropping off packages, picking up prints, and asking about mailbox rentals. Note where you wait, where signage fails, and where staff cross paths repeatedly. Time each service from intake to pickup using a stopwatch. If packing a shipment takes eight minutes on average and involves three trips to the back room, write that down. Ask staff to track their own movement for two days — how many times they walk between the counter and the printer, or hunt for supplies during a transaction. Analyzing customer traffic patterns can reveal where bottlenecks form and where layout improvements will have the greatest impact.
- Week 2: Sketch the four zones on your floor plan. Mark where intake, fulfillment, pickup, and impulse add-ons should sit based on customer flow patterns you observed. Measure wall space and equipment footprints to confirm each piece fits without blocking sightlines or creating new bottlenecks. Identify which shelving units, label printers, packing supplies, and POS terminals need to move. Discuss the draft layout with your team and adjust based on their feedback about workflow and access. Consider established store layout types and which elements might apply to your multi-service environment.
- Weeks 3–4: Execute the move during off-peak hours. Relocate one zone at a time, starting with intake since it sets the tone for everything downstream. Run a soft launch with staff for two days before opening the new layout to customers. Set a measurable checkpoint: if average packing time was eight minutes before, aim for six minutes after the fulfillment zone is reorganized. Gather feedback from employees about what's working and what still feels clunky, then make adjustments before the full rollout.
Pair your layout changes with clear role assignments so staff know who handles intake, who manages fulfillment, and who covers pickup during busy periods. Review your staffing and scheduling strategy to keep the new zones align with how you deploy your team throughout the day.
Real Results: Before-and-After Examples
A 5-employee pack-and-ship store in Colorado moved its intake desk from a cramped corner to a prominent front counter and added a pickup window that separated completed orders from new customers. Within six weeks, intake-to-completion time dropped 22 percent, and average transaction value increased 18 percent. The owner noted an unexpected benefit: "New hires get up to speed in half the time because they're not confused about where to stand or what happens next."
An Austin print shop consolidated all finishing equipment—binding machines, paper cutters, and collating stations—into a separate back room, keeping the front counter clear for customer interaction only. Front-staff turnover fell from 40 percent annually to 12 percent. The manager explained: "Staff used to feel rushed and overwhelmed during peak hours when customers could see them fumbling with equipment. Now they can focus on one thing at a time, and morale is better than it's ever been."
A mailbox-and-shipping hybrid in Florida created a dedicated impulse zone near the exit, displaying notary pads, small shipping boxes, and business card samples with clear pricing. The notary service upsell rate jumped from 3 percent to 18 percent of shipping customers. The owner reported: "Customers see the notary stamp and ask about it while they're paying. We weren't promoting it before—it was just buried behind the counter." This example demonstrates how thoughtful layout optimization can drive measurable sales improvements.