

Why Add Apparel Printing to Your Store
Custom apparel printing transforms existing customer relationships into recurring revenue without warehouse inventory or large equipment investments, making it accessible for small retailers looking to add apparel printing to their business.
Profit margins in this sector far exceed typical retail markups.
Most retail products operate on thin margins—apparel stores average 4–13%, and general merchandise hovers around 20–30%. Custom apparel printing flips that model. You capture 40–60% profit margins because you're selling personalized value, not commodity goods.
The barrier to entry stays low. Unlike inventory-based retail, you don't stock dozens of sizes or predict seasonal demand. You print what customers order, when they order it. This model requires minimal upfront capital compared to traditional inventory stocking, making it accessible for store owners already managing tight cash flow.
Uses existing customer relationships
You already have customers walking through your door and browsing your website. Those relationships give you an immediate advantage over print-on-demand marketplaces where buyers are anonymous and loyalty is nonexistent. When a repeat customer asks about custom team shirts or personalized gifts, you're not starting from scratch. You're building on trust they've already placed in your business.
Summer creates natural demand peaks for custom apparel before the Q4 holiday rush begins. Youth sports teams need uniforms, local businesses order staff shirts for outdoor events, and families plan reunion apparel. Launching now means you capture these orders when production timelines are relaxed and you can test your pricing and workflow before the intense holiday season arrives.
Printing Methods and Equipment Selection
Your choice of printing method shapes everything from your startup budget to the types of orders you can profitably accept. Each approach fills a different niche, and understanding where they fit helps you avoid costly mismatches between equipment and customer demand.
Direct-to-Garment (DTG) printers work like desktop inkjet machines, spraying water-based ink directly onto fabric. They excel at small batches and complex designs with gradients or photo details. Entry-level DTG units start around $3,000 to $5,000, with minimal setup time per order — ideal for retailers serving customers who order five to twenty shirts at a time. The learning curve stays gentle; most operators master basic printing within a week. Your best customers are individuals ordering personalized gifts, small businesses needing employee uniforms, or event organizers buying commemorative shirts. Per-shirt costs run higher than screen printing, but you carry no inventory risk since each order prints on demand.
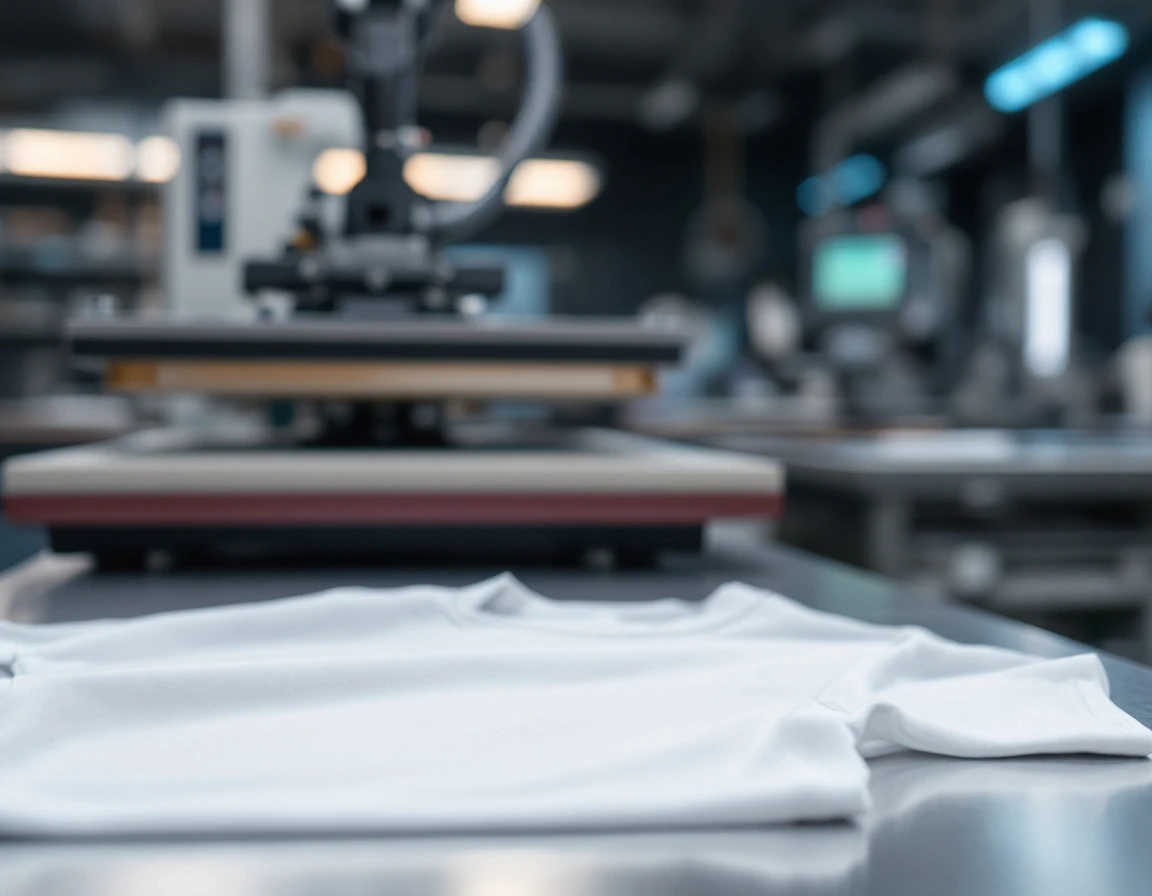
Heat transfer printing uses a heat press (starting under $500) to bond vinyl cutouts or printed transfers onto garments. This method suits single-unit orders and designs with spot colors rather than complex imagery. The equipment takes minutes to learn, making it the fastest entry point for retailers testing apparel services. Customers ordering one or two custom items — like a parent buying a birthday shirt — represent your core market. Material costs stay predictable, though design complexity adds labor time for weeding vinyl.
Screen printing delivers the lowest per-unit cost once order volumes exceed fifty pieces, but requires screens, emulsion, exposure equipment, and curing space. Startup investments range from $2,000 for manual setups to $15,000 for semi-automatic presses. The learning curve steepens with multi-color designs. Target customers include sports leagues, corporate bulk orders, and schools buying team uniforms.
If capital limits your options, white-label partnerships and print-on-demand suppliers eliminate equipment costs entirely. You handle sales and customer relationships while a fulfillment partner manages production and shipping. This model converts fixed costs into variable ones, letting you test apparel services before committing to equipment.
Pricing Strategy and Margin Calculation
The math behind custom apparel profitability is simpler than most retailers expect. Start with your cost per piece: a quality blank t-shirt forms your base expense, direct-to-garment printing adds the cost of ink and processing, and overhead including equipment depreciation, utilities, and labor rounds out your per-unit expenses. Combined, these inputs create a manageable total cost structure. Sell the same shirt at a competitive retail price, and you've secured healthy profit margins—with each unit generating meaningful returns on your investment.
This formula scales with volume while protecting your baseline profitability. Maintain your standard price point for individual orders. As order quantities grow, progressively reduce your per-unit cost through tiered pricing. The structure rewards bulk customers without allowing your per-piece profit to slip below acceptable thresholds. Track your actual production costs weekly during the first month to refine these tiers based on real labor time and material waste.
Summer demand justifies premium positioning because customers need apparel now—for upcoming tournaments, family reunions, or seasonal events. A two-day rush fee of $3 per piece adds margin without alienating price-sensitive buyers who can wait five business days.
Check competitor pricing in your area, but resist the urge to undercut by more than 10%. Your existing customer relationships and in-store convenience justify market-rate pricing.
Seasonal adjustments matter less than consistency. Set your base pricing in May and hold it through August, then evaluate whether fall sports demand supports maintaining premium rates or requires modest adjustment to stay competitive as event urgency decreases.
Integration Into Your Store Operations
Adding custom apparel to your store doesn't mean running a separate business inside your store. Modern retail software treats custom orders the same way it handles other transactions—your POS system rings up the design consultation, captures customer specifications, and tracks the order from proof approval through production to pickup or shipment. This unified approach keeps custom apparel from becoming an operational silo that requires duplicate record-keeping or manual handoffs between systems.
When a customer places an order, your POS creates a production ticket that moves through each stage: design finalization, blank selection from inventory, printing, quality check, and fulfillment. Each status update feeds back into the same system that manages your other inventory, so staff can answer "when will it be ready?" questions without checking separate spreadsheets or production logs. ParcelPuffin integrates apparel order management alongside traditional inventory and shipping functions, giving you a single dashboard for the entire business.
Blank inventory works like any other stock item. You maintain par levels for popular sizes and colors, reorder when quantities drop below thresholds, and track cost of goods sold per garment type. The difference is velocity—blanks move faster than typical retail inventory because each sale triggers immediate production rather than sitting on shelves waiting for purchase.
For fulfillment, you choose whether finished garments ship directly to customers or wait for in-store pickup. Either path uses the same shipping features that handle your existing parcel volume, applying the same carrier rate comparisons and label printing workflows you already know.
30-Day Launch Checklist
Launching apparel printing in time for summer demand doesn't require months of preparation. This four-week sprint gets your first custom apparel orders into production before peak season hits, with each week focused on a specific set of tasks that build toward a profitable soft launch.
- Week 1: Choose printing method and secure equipment or supplier partnership. Request sample quotes from DTG equipment vendors if buying in-house, or identify two white-label partners who can handle overflow. Place test orders to evaluate turnaround time and print quality. Confirm blank apparel suppliers can deliver your most-requested sizes within 48 hours.
- Week 2: Design templates and pricing model; test production quality. Create three bestseller templates—business logos, team names, event graphics—that customers can customize. Build your pricing calculator with material costs, labor time, and target margins. Run ten test orders through your chosen production method to identify bottlenecks and quality issues before real customers arrive.
- Week 3: Update POS, website, and marketing materials; train staff. Configure your system to track apparel orders separately from retail transactions. Add product pages with sizing charts and design upload options. Train counter staff on consultation questions, rush order policies, and how to set customer expectations for turnaround time.
- Week 4: Soft launch to existing customers; gather feedback and refine. Email your customer list with an introductory offer. Process initial orders while documenting production time and common customer questions. Adjust pricing, templates, or processes based on real-world results before expanding marketing efforts.
Quick Wins and Next Steps
You don't need a big marketing budget to introduce apparel printing. Start with an email announcement to your existing customer base — these buyers already trust you, making them the easiest group to convert. Highlight custom apparel as a premium upgrade to their routine purchases: "Add your logo to team orders" or "Personalize gifts for summer events."
Use your social channels to showcase sample work. Post photos of finished shirts with customer permission, tag local teams or event organizers, and share behind-the-scenes production clips. This builds credibility without paid advertising.
Track three metrics during your first quarter: order volume, actual margin per job, and repeat customer rate. Compare your realized margins against your pricing model to catch gaps early. If customers return for second orders, your quality and service meet expectations.
Refine your offerings quarterly based on feedback. Adjust blank selections, tweak pricing tiers, or add popular customization options. Once Q3 demand validates your model, you'll have the performance data to justify equipment upgrades or expanded capacity heading into Q4.